Ocsigen
Quickstart
guide
Writing a chat app
Writing a chat app
Use arrow keys to navigate
$ opam install ocsigen-start ocsipersist-sqlite-config
You can find these slides on ocsigen.org
and the source code of the slides with the solution of
exercices on Github.
Refer to the main one page user manual to get more explanations.

Ocsigen Server
Eliom
Js_of_ocaml
Tyxml
Lwt
Ocsigen Start
Ocsigen Toolkit
Ocsigen i18n
Jérôme Vouillon, Vincent Balat
Pierre Chambart, Grégoire Henry, Benedikt Becker,
Vasilis Papavasileiou, Gabriel Radanne, Hugo Heuzard,
Benjamin Canou, Boris Yakobowski, Jan Rochel, Idir Lankri,
Jérémie Dimino, Romain Calascibetta, Raphaël Proust, Anton Bachin, Baptiste Strazzulla,
Jules Aguillon, Julien Sagot, Stéphane Glondu, Gabriel Kerneis, Denis Berthod, Thorsten Ohl,
Javaid Habib, Danny Willems, Kate Deplaix, Enguerrand Decorne, Grégoire Lionnet,
Jaap Boender, Gabriel Scherer, Gabriel Cardoso, Yuta Sato, Sora Morimoto,
Christophe Lecointe, Arnaud Parant, Jérôme Maloberti, Charly Chevalier,
Nicolas Osborne, Jean-Henri Granarolo, Simon Castellan, Barbara Lepage, Séverine Maingaud,
Mauricio Fernandez, Michael Laporte, Nataliya Guts, Archibald Pontier,
Jérôme Velleine, Charles Oran, Pierre Clairambault,
Cécile Herbelin
…
The sports social network https://besport.com/news

$ ocsigenserver -c config
Where config is something like:
<ocsigen>
  <server>
    <port>8080</port>
    <commandpipe>local/var/run/mysite-cmd</commandpipe>
    <logdir>local/var/log/mysite</logdir>
    <datadir>local/var/data/mysite</datadir>
    <charset>utf-8</charset>
    <debugmode/>
    <extension findlib-package="ocsigenserver.ext.staticmod"/>
    <host hostfilter="mydomain.com">
      <static dir="local/var/www/staticdir"/>
    </host>
  </server>
</ocsigen>
let () =
  Ocsigen_server.start
       [ Ocsigen_server.host [Staticmod.run ~dir:"static" ()]]
Example of Dune file for this program:
(executable
 (public_name myproject)
 (name main)
 (libraries
  ocsigenserver
  ocsigenserver.ext.staticmod))
Compile with:
dune build
Find more complex configuration examples in the manual
Create a new project:
$ dune init project --kind=executable mysite
$ cd mysite
Define a service in bin/main.ml:
let myservice =
  Eliom_service.create
    ~path:(Eliom_service.Path ["foo"])
    ~meth:(Eliom_service.Get Eliom_parameter.unit)
    ()
let myservice =
  Eliom_service.create
    ~path:(Eliom_service.Path ["foo"])
    ~meth:(Eliom_service.Get (Eliom_parameter.(string "myparam" ** int "i")))
    ()
Use module Eliom_parameter to specify which GET or POST parameters you want your page to take.
Eliom checks types automatically and converts them to OCaml values
Register a handler:
let () =
  Eliom_registration.Html.register ~service:myservice
    (fun () () ->
      Lwt.return
         Eliom_content.Html.F.(html (head (title (txt "The title")) [])
                                    (body [h1 [txt "Hello"]])))
let () =
  Eliom_registration.Html.register ~service:myservice
    (fun (myparam, _i) () ->
      Lwt.return
         Eliom_content.Html.F.(html (head (title (txt "The title")) [])
                                    (body [h1 [txt myparam]])))
The service handler now takes as first argument something of type string * int
let () =
  Eliom_registration.File.register ~service:myservice
    (fun (_myparam, _i) () ->
      Lwt.return "filename")
Services can return other types of content.
For example, we can return a file
let () =
  let a = ref 0 in
  Eliom_registration.Action.register ~service:myservice
    (fun (myparam, _i) () ->
      a := a + 1;
      Lwt.return ())
or an action.
Actions are services performing a side-effect. Handlers do not return any value. By default, the current page is regenerated.
let () =
  Eliom_registration.Html.register ~service:myservice
    (fun (myparam, _i) () ->
      Lwt.return ([%html{|<html><head><title></title></head>
                           <body><h1>Hello</h1></body>
                          </html>|})
A PPX extension provided by Tyxml makes it possible to use regular HTML syntax if you prefer
let () =
  Eliom_registration.Html.register ~service:myservice
    (fun (myparam, _i) () ->
      Lwt.return
         Eliom_content.Html.F.(html (head (title (txt "The title")) [])
                                    (body [p [p [txt myparam]]])))
                                              ^^^^^^^^^^^^^^^
Error: This expression has type [> p ] elt = 'a elt
       but an expression was expected of type [< p_content ] elt = 'b elt

      Type 'a = [> `P ] is not compatible with type
            'b = [< `A of phrasing_without_interactive
                  | `Abbr
                  | `Audio of phrasing_without_media
                  ...
                  | `Output
                  | `PCDATA
                  | `Progress
                  | `Q
                  ...
                  | `Wbr ]

     The second variant type does not allow tag(s) `P
Tyxml type-checks your HTML! This makes sure at compile time your program will never generate incorrect pages!
Start the server with static files and Eliom:
let () =
  Ocsigen_server.start
    ~command_pipe:"local/var/run/mysite-cmd"
    ~logdir:"local/var/log/mysite"
    ~datadir:"local/var/data/mysite"
    ~default_charset:(Some "utf-8")
    [
      Ocsigen_server.host
       [ Staticmod.run ~dir:"local/var/www/mysite" ()
       ; Eliom.run () ]
    ]
Add packages ocsipersist-sqlite, ocsigenserver.ext.staticmod and eliom.server to file bin/dune, in the "libraries" section and create the directories used in the configuration just above.
Compile and run:
$ dune exec mysite
Go to http://localhost:8080/foo to test your program.
Server-side session data is stored in Eliom references:
let r =
  Eliom_reference.eref
     ~scope:Eliom_common.default_session_scope 0


let f () =
  let%lwt v = Eliom_reference.get r in
  Eliom_reference.set r (v + 1);
let r =
  Eliom_reference.eref
     ~persistent:"myrefname"
     ~scope:Eliom_common.default_session_scope 0

let f () =
  let%lwt v = Eliom_reference.get r in
  Eliom_reference.set r (v + 1);
Eliom references have a scope!
| Request | request_scope |
| Tab | default_process_scope |
| Session | default_session_scope |
| Session group | default_group_scope |
| Site | site_scope |
| Global | global_scope |
Submiting this form sends the user name to a POST service, that will register your user name.
When the user name is already known, your main page displays this name, and a logout button.
Hints:
Eliom_state.discard_allTest your app with several browsers to check that you can have several users simultaneously.
See the solution here.
Advanced version: instead of using a reference with scope session, create a session group whose name is the user name. Check that you can share session data across multiple browsers.

Services have many other features:
Example:
The form data will be saved in the closure!
Functional Web Programming!
With Eliom, you can write a client-server Web and mobile app as a single
distributed app!
To do that, you need a dedicated buid system.
Use the default basic application template provided by Eliom to get it:
eliom-distillery --template app.exe -name myapp
Have a look at files myapp.eliom and myapp_main.eliom.
Insert the following line in myapp.eliom:
let%client () = print_endline "Hello"
See the result in your browser's console.
let%server () = ...
let%client () = ...
let%shared () = ...
let%server message = "Hello"
let%client () = print_endline ~%message
The values are send together with the page (Eliom never calls the server if you don't ask to).
let%rpc f (i : int) : unit Lwt.t = Lwt.return (i + 10)
let%client () = ... let%lwt v = f 22 in ...
Warning: type annotations are mandatory
button ~a:[a_onclick [%client (fun ev -> ... )]] [ ... ]
let%shared mybutton s =
  let b = button [txt "click"] in
  let _ =
    [%client (Lwt_js_events.clicks (To_dom.of_element ~%b)
               (fun ev -> Dom_html.window##alert(Js.string ~%s) : unit))
    ]
  in
  d
Warning: type annotations are mandatory
The code is actually included in the client-side program as a function, which is called when the page is received.
On this example, you can see a few new concepts:
To_dom.of_element (or of_div, etc.) is used to get the DOM node corresponding to some Tyxml Eliom_content.Html.D nodeJs.string is used to convert an OCaml string to a Javascript string## is a syntax used to call Javascript methods in typesafe way. Similarly, ##. is used to access Javascript object fields.Lwt_js_events defines a very simple and powerful and simple way to bind interface events (here clicks means: "for all clicks, call the function")Generating pages on the client or the server depending on cases
This is a typical example of service definition and registration for a client-server Web and mobile app:
let%server myservice = Eliom_service.create
                         ~path:(Path ["foo"])
                         ~meth:(Get any)
                         ()
let%client myservice = ~%myservice
let%shared () =
  Eliom_registration.Html.register
    ~service:myservice
    (fun get_params () -> ...)
If the service is registered on both sides, the server side version will be used for the first call (or for indexing by search engines) the client side version will be used for subsequent calls (or on the mobile app)

Modify your program to use shared services
Check that when you click on the link, the second page is generated on the client
Hints:
See the solution here.
Add a text input field in the connected version of your page, with a submit button, that will send the message to the server.
The server will just display the message in its console
Hints:
input fields instead of the Form module.Eliom has several ways to do server to client communication.
Here we will use module Eliom_notif.
It gives you the possibility to define resources on which user can listen
or notify.
On server side, instanciate functor Eliom_notif.Make_Simple.
Type key is for resource ids. Type notification is for the messages
you want to send.
module%server Notif = Eliom_notif.Make_Simple (struct
  type identity = ...
  type key = ...
  type notification = ...
  let get_identity = ...
end)
Call Notif.listen from server side
if you want to be notified when there is a new message send on a resource.
If you want to send a message to all users listening on a given resource, call function Notif.notify from server side.
On client side, ~%(Notif.client_ev ()) is a React event of type
(key, notif) React.E.t. Use it to receive the messages.
Example:
React.E.map (fun notification -> ...) ~%(Notif.client_ev ())
Make it possible to send a message to another user connected on the same server.
Modify your form to have two fields: one for the recipient name, and one for the message. Change your RPC accordingly.
Display the messages you receive in the page.
Make sure that you receive only the message sent to you.
Hints:
Eliom_notif.Make_Simple on server side, with get_identity being the function to get current user from your scoped reference. Resources are chat channels. Here a channel is identified (key) by the recipient name (one channel for each user, where everyone can write).client_evManip to append the new element to the pageSee the solution here.
Client-server widgets
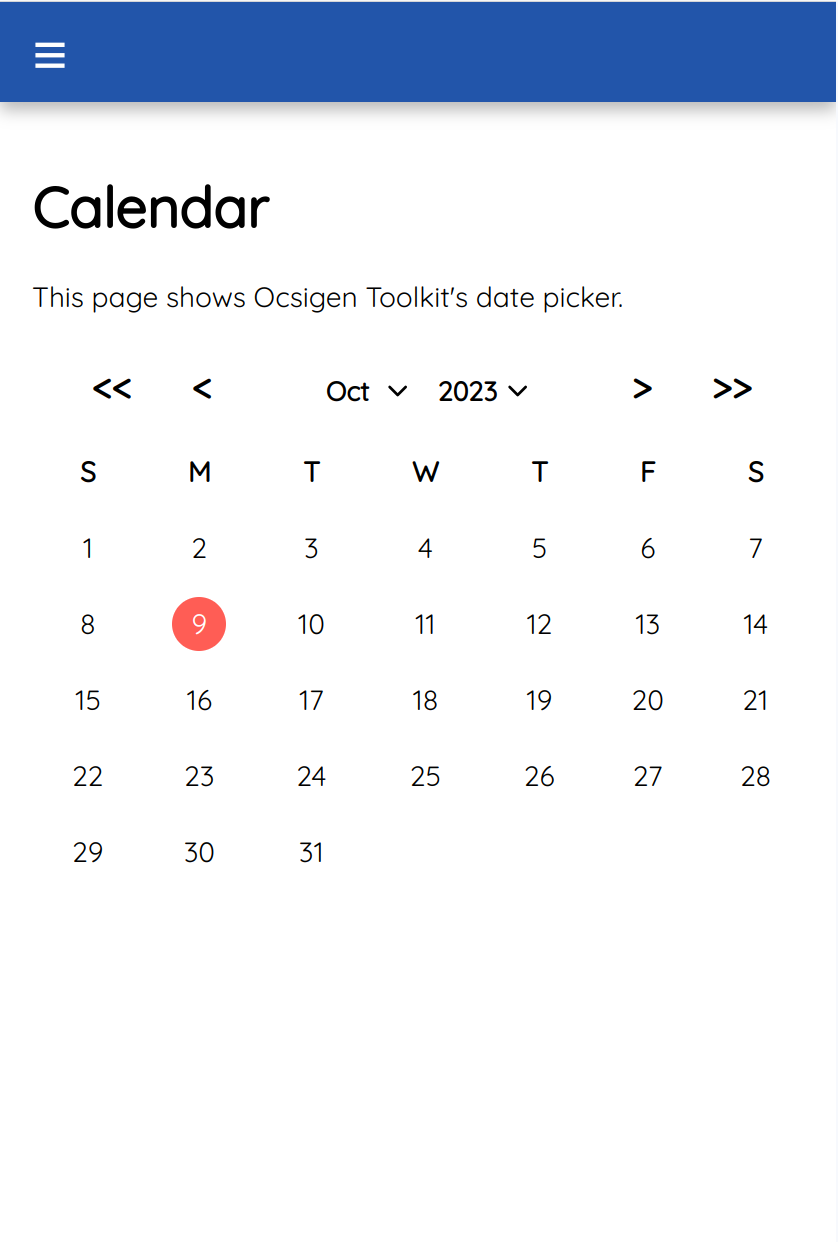

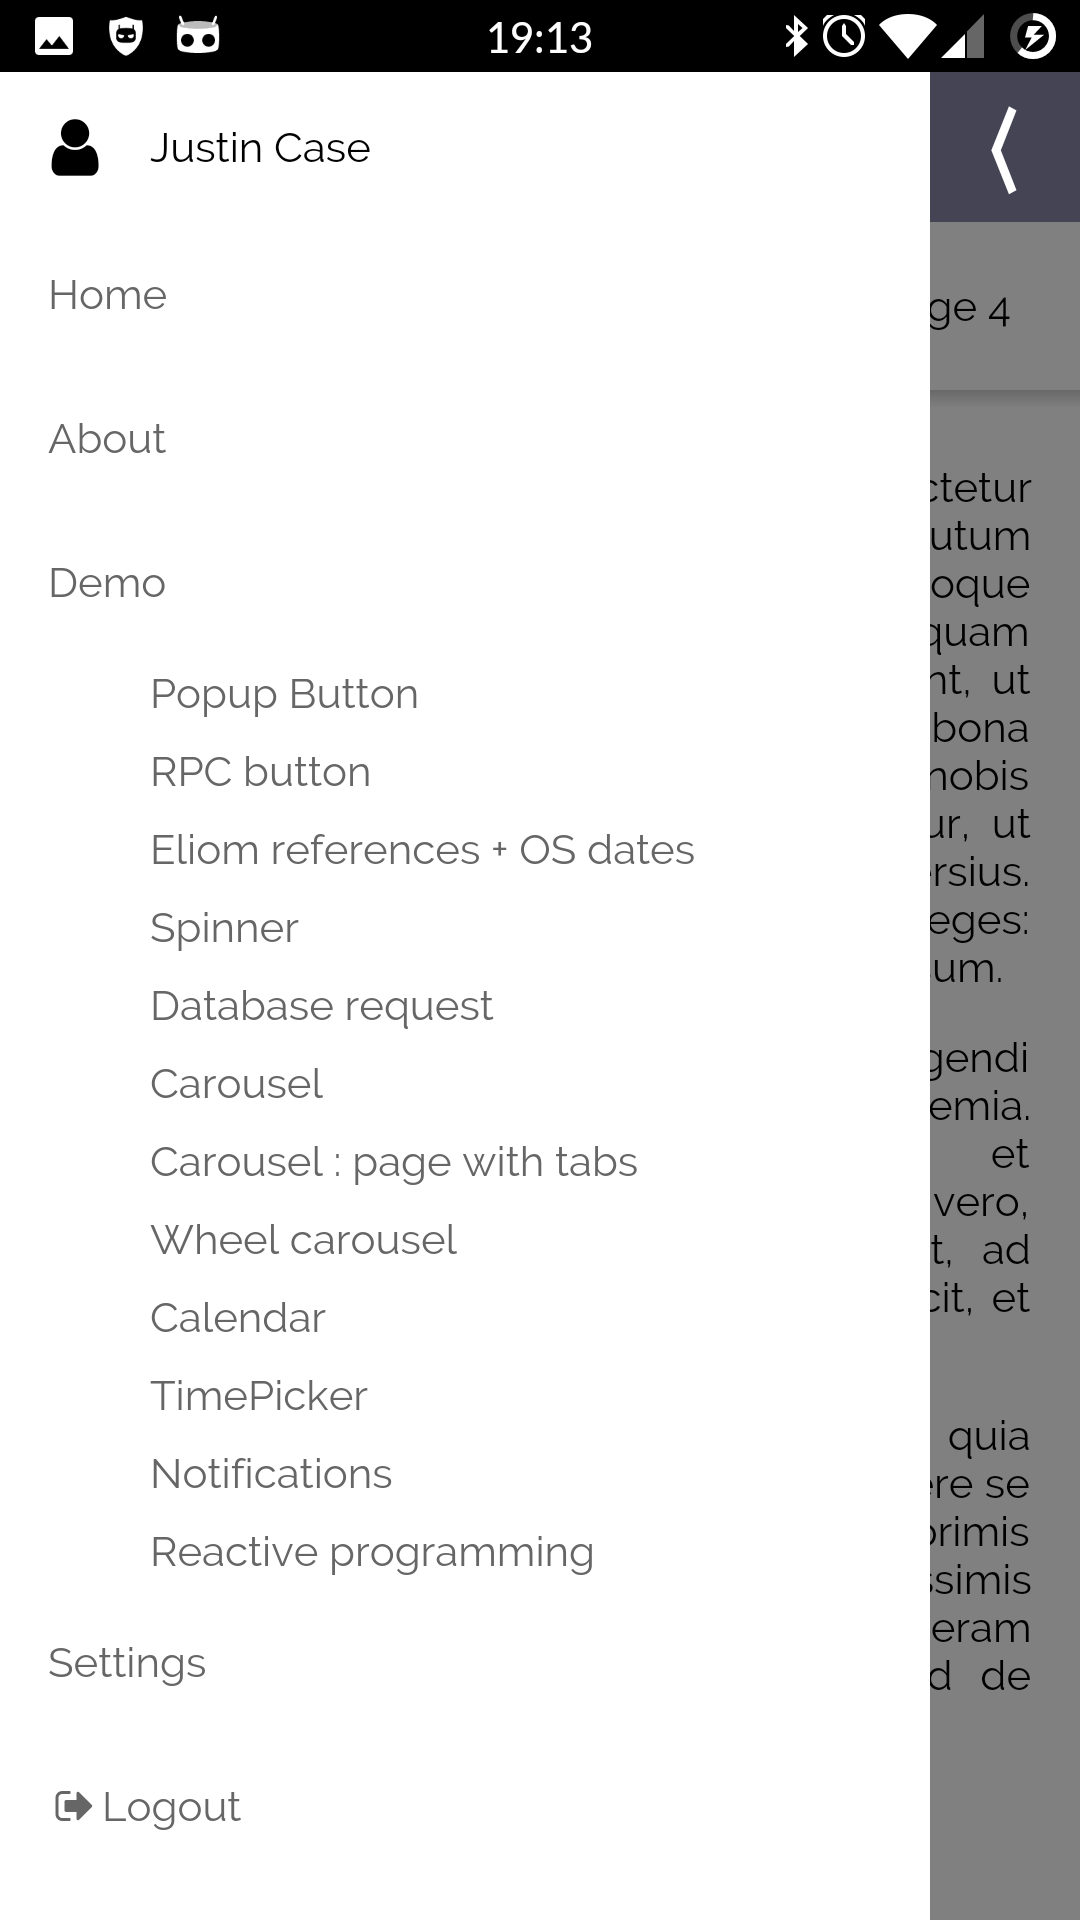
Library
user management, passwords, etc.
Application template
Code samples
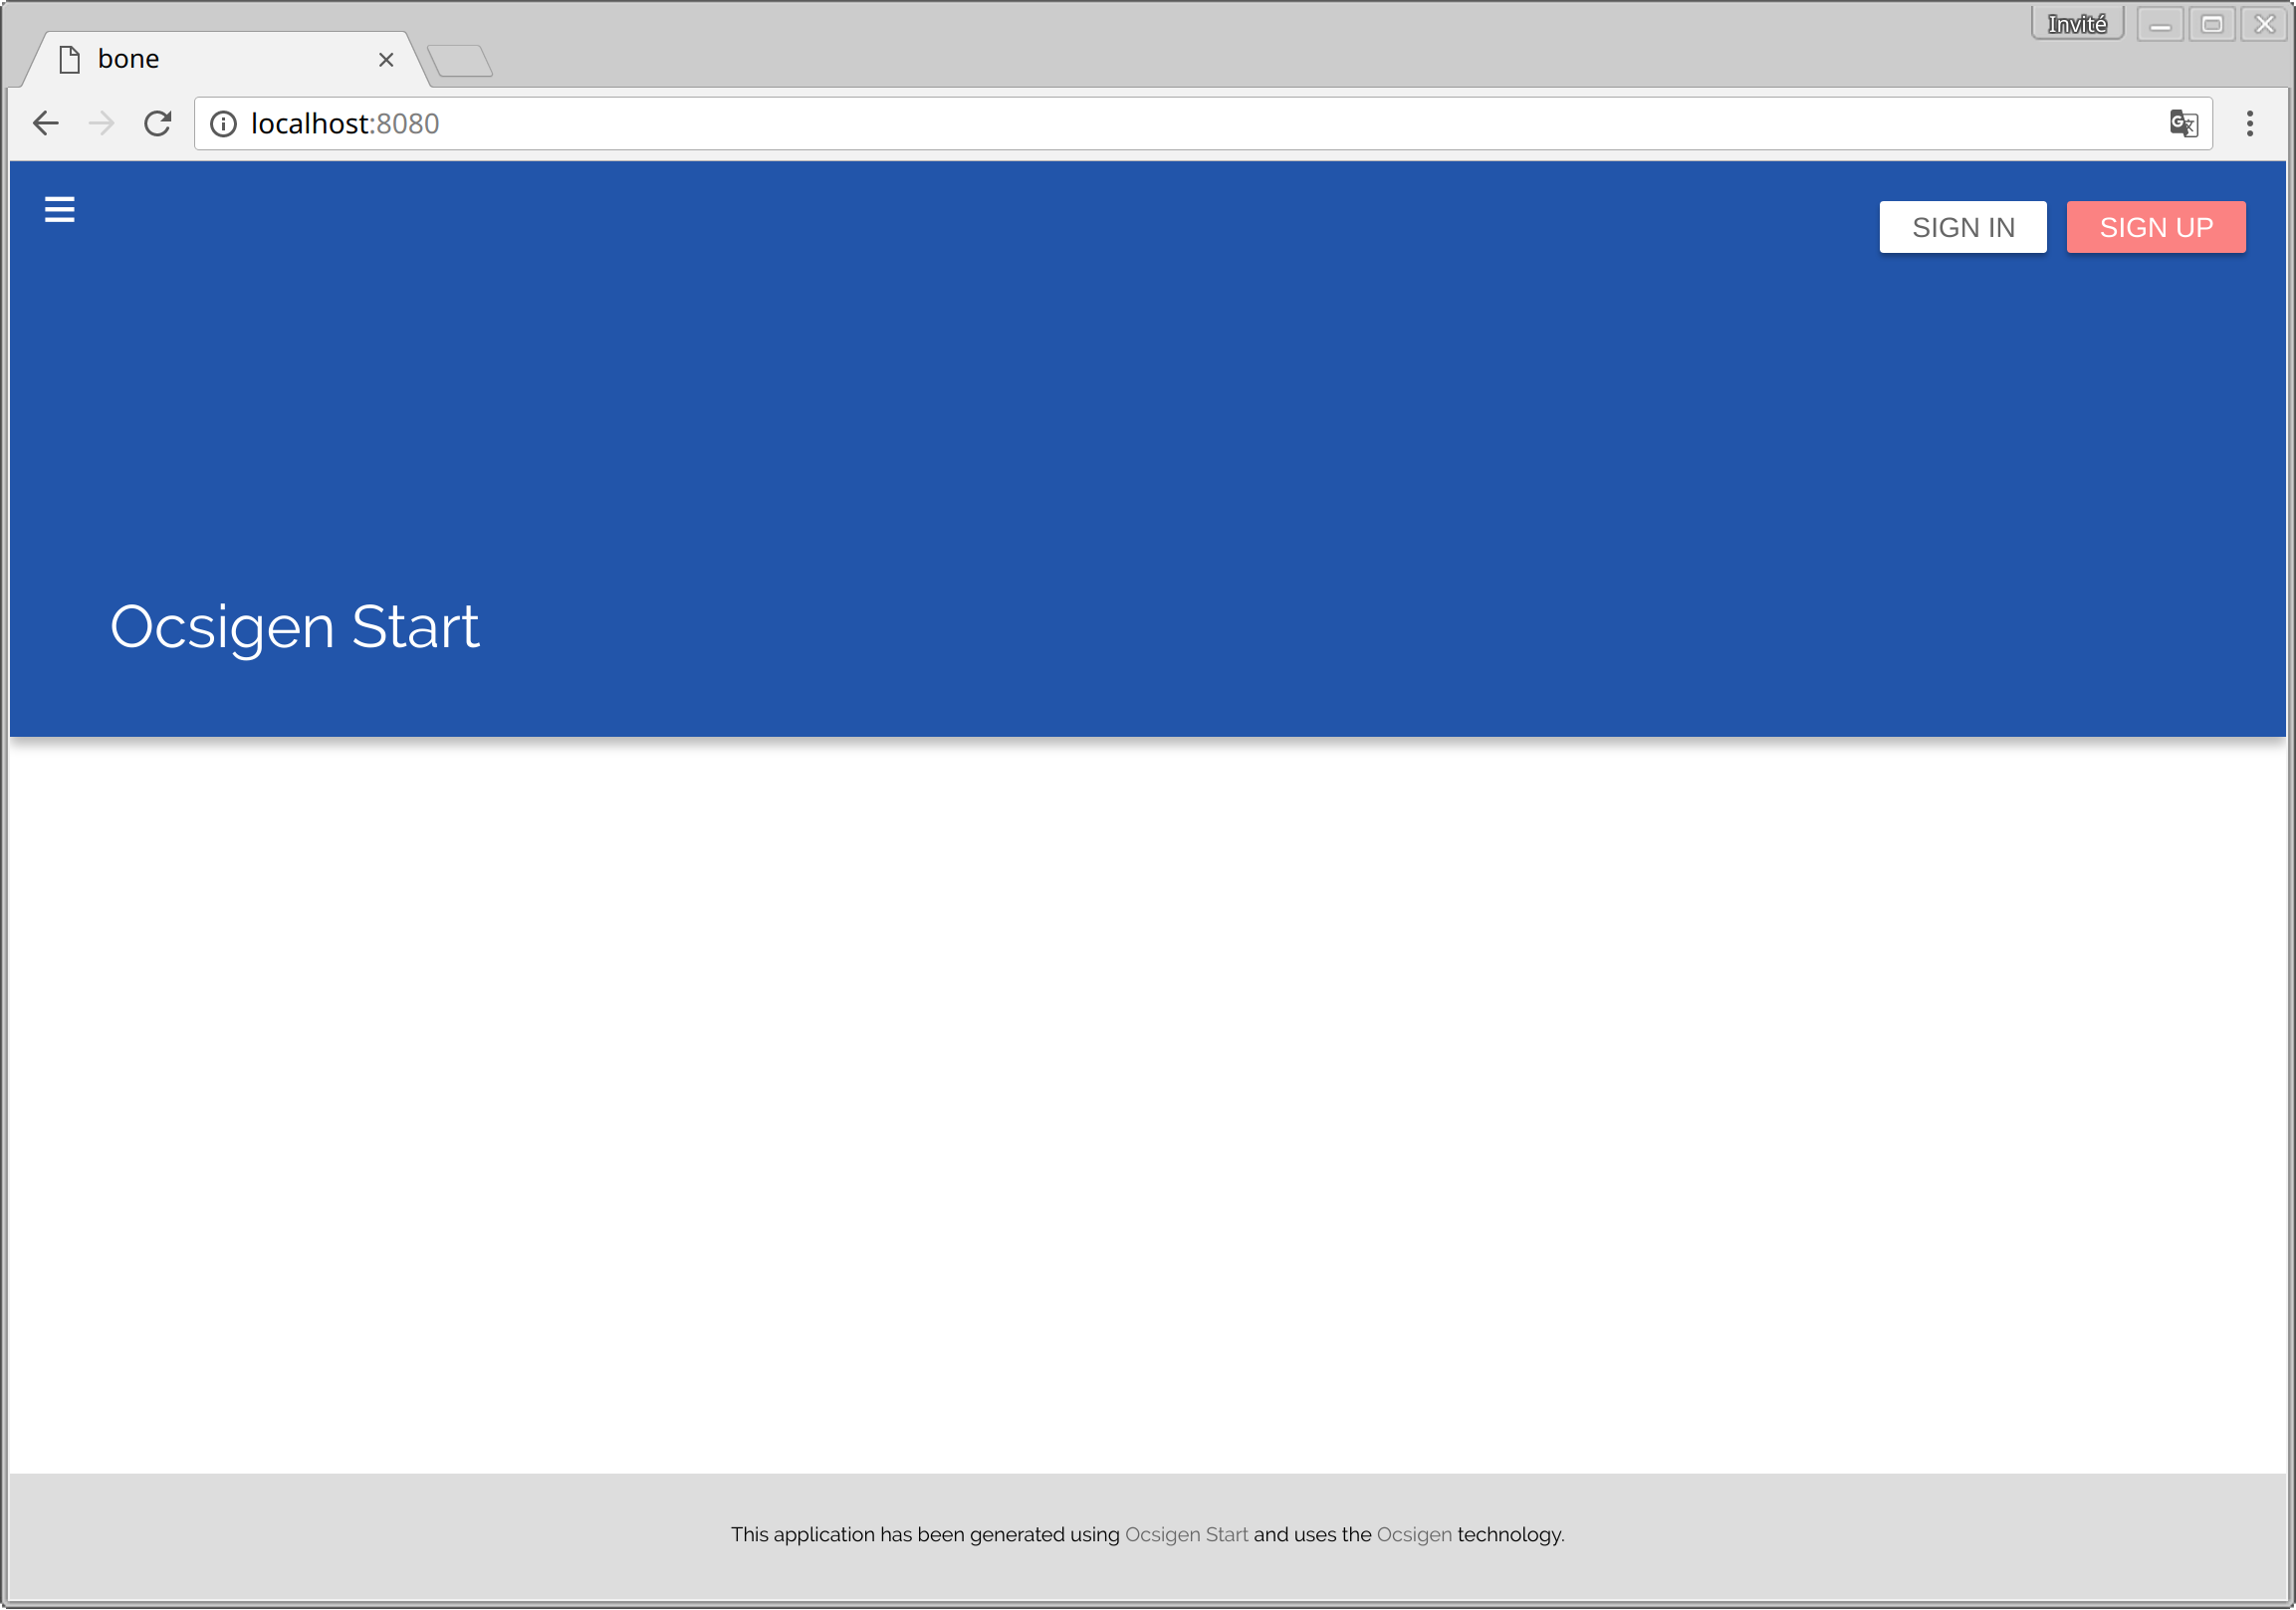
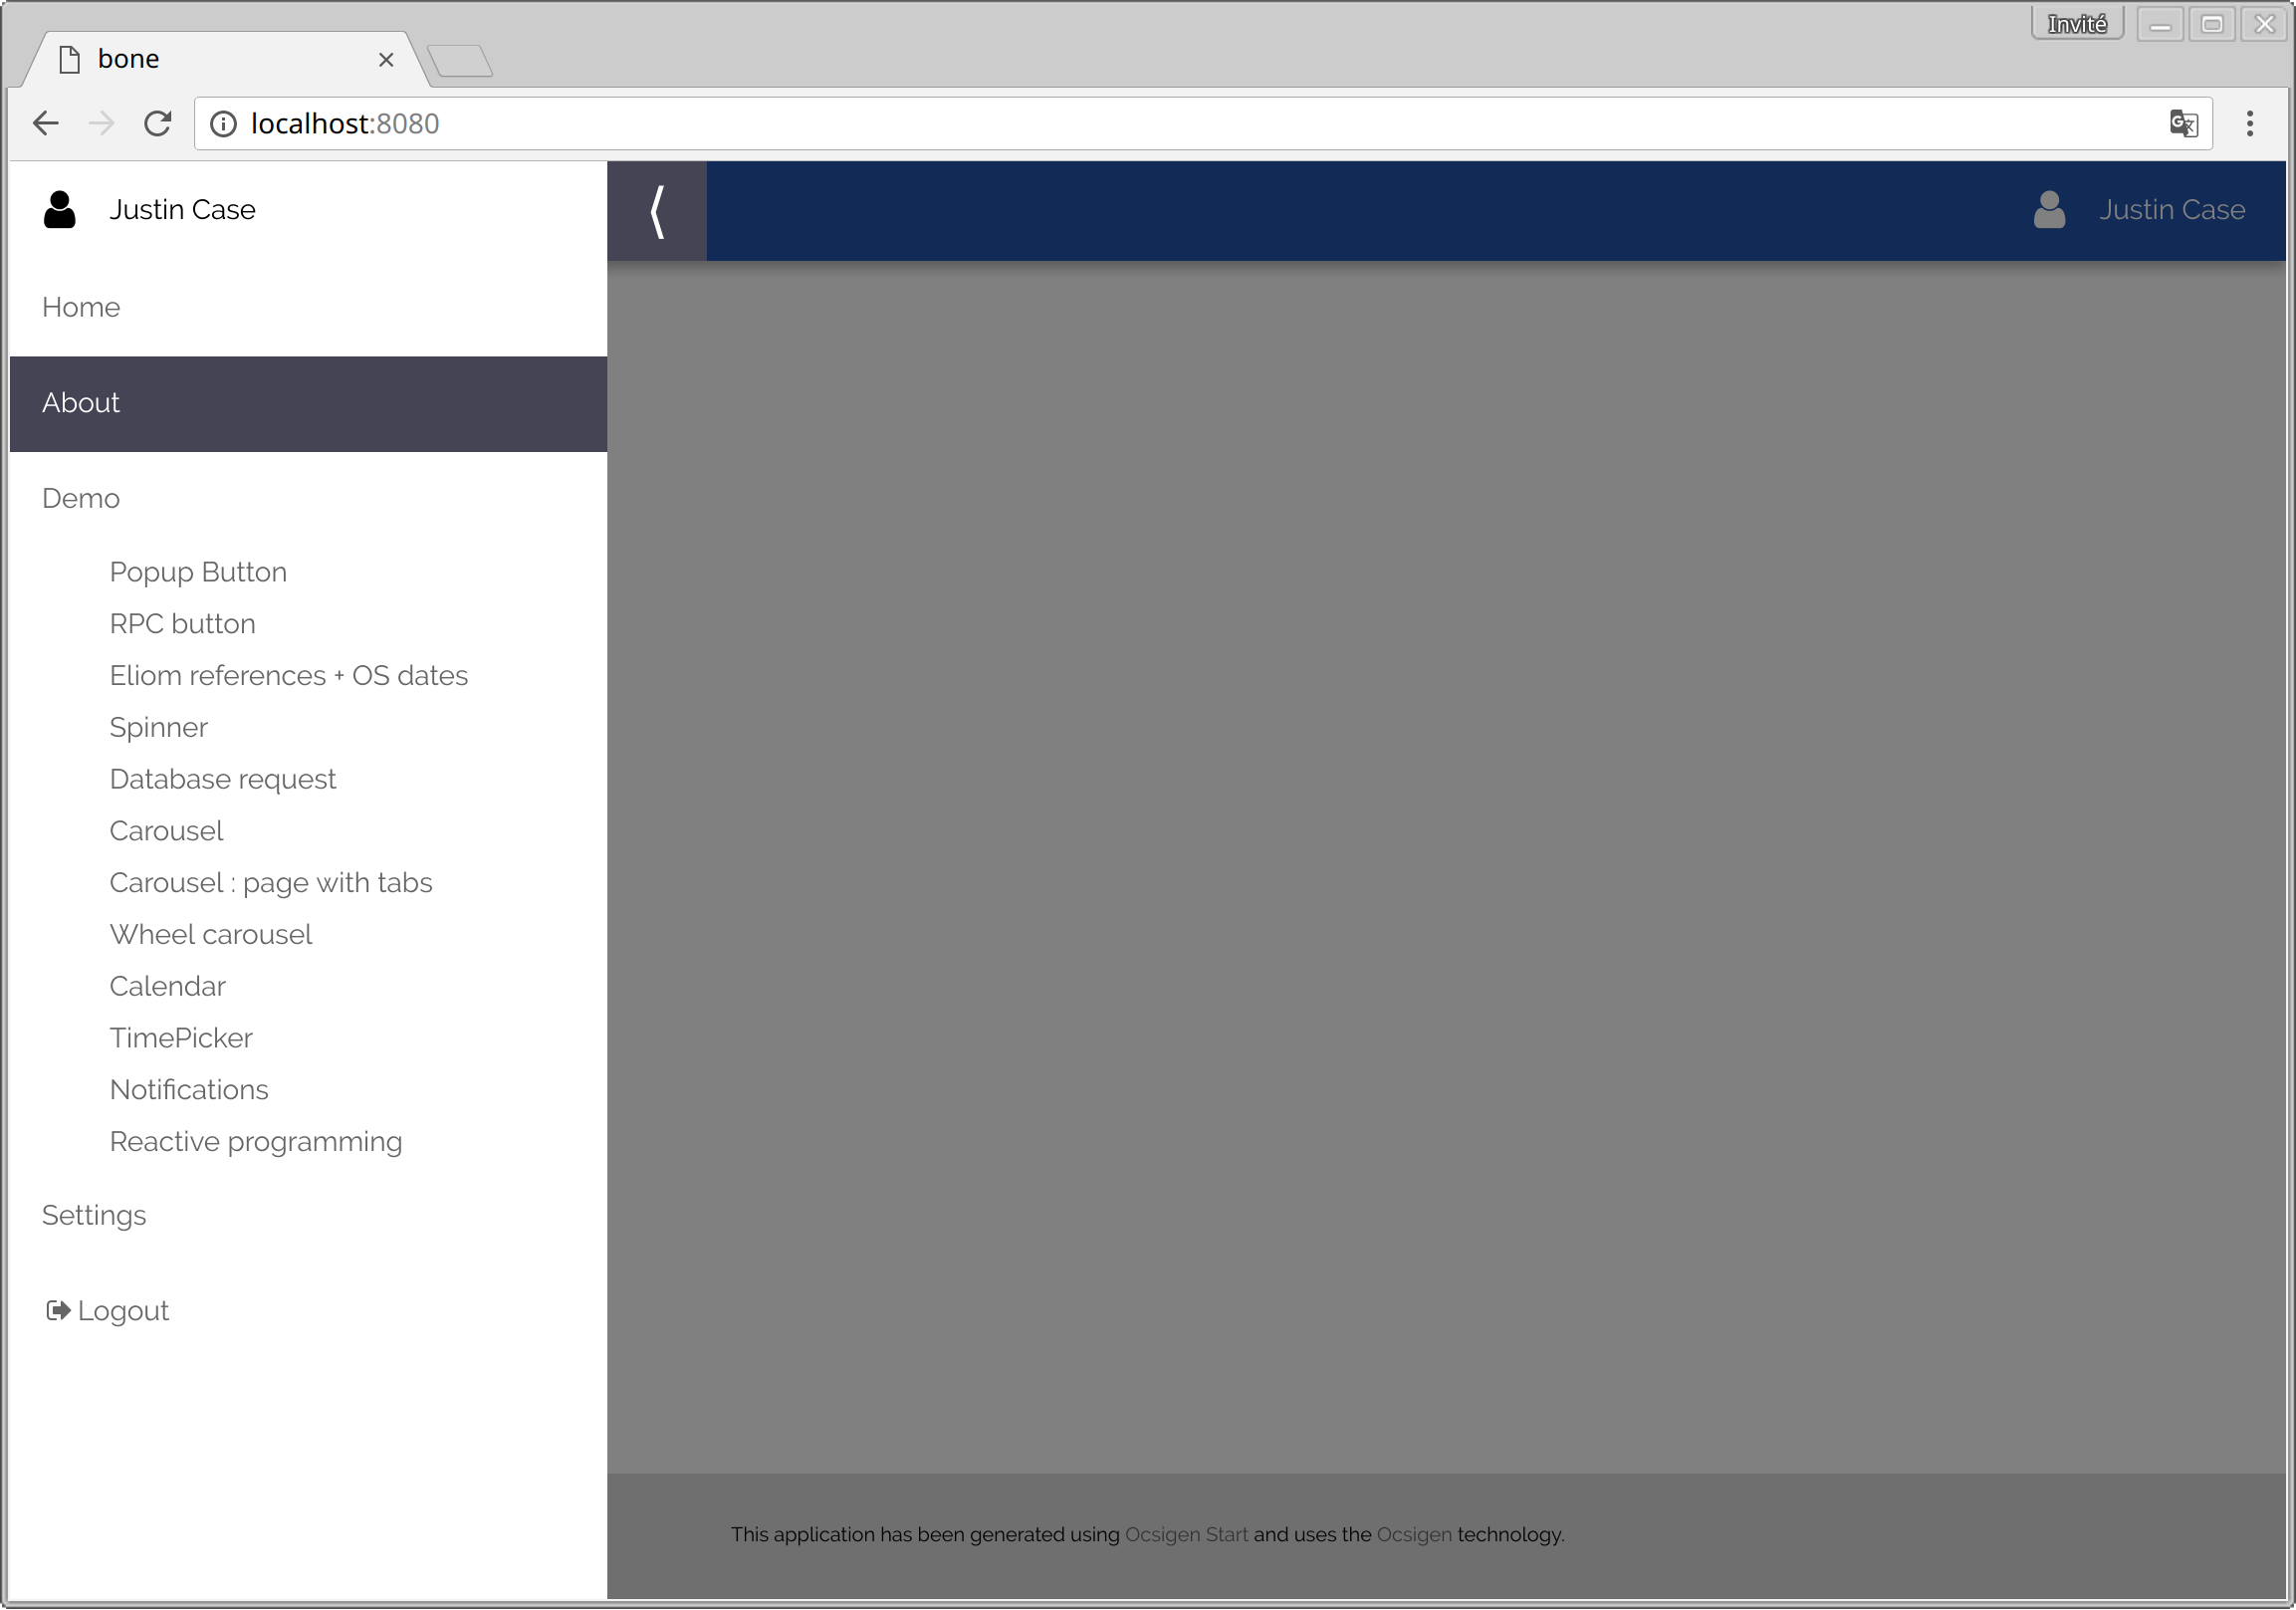
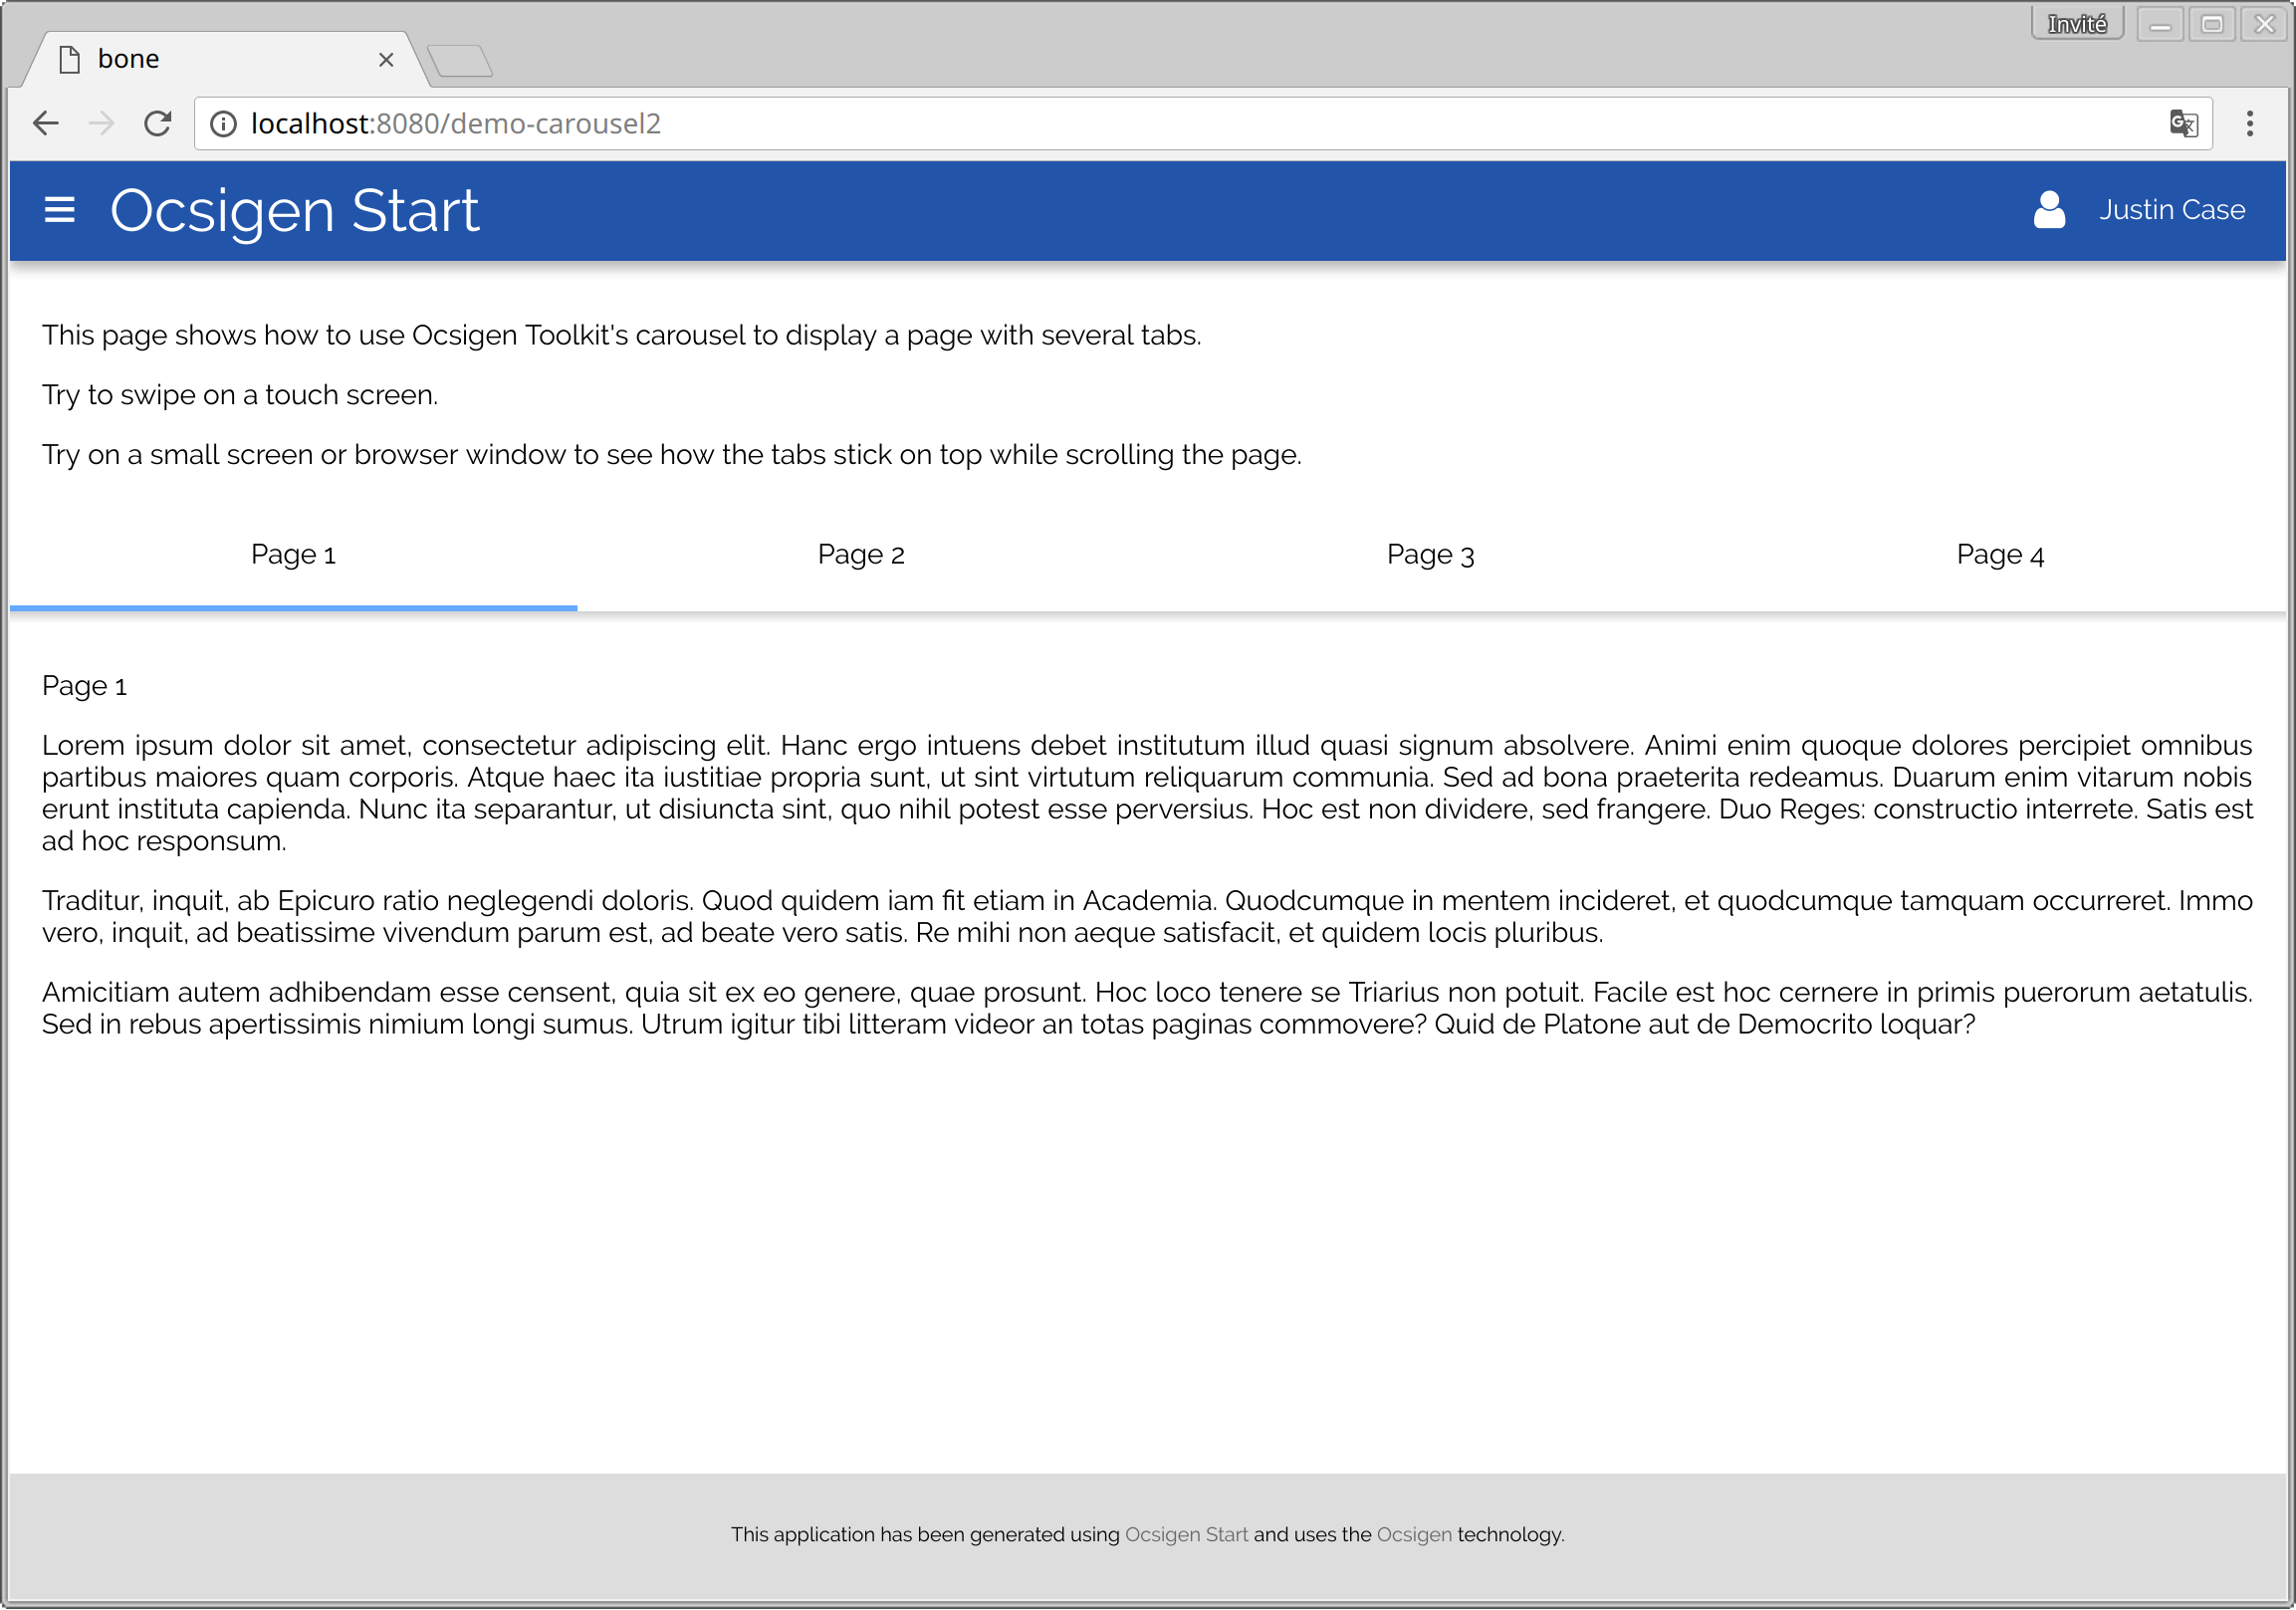
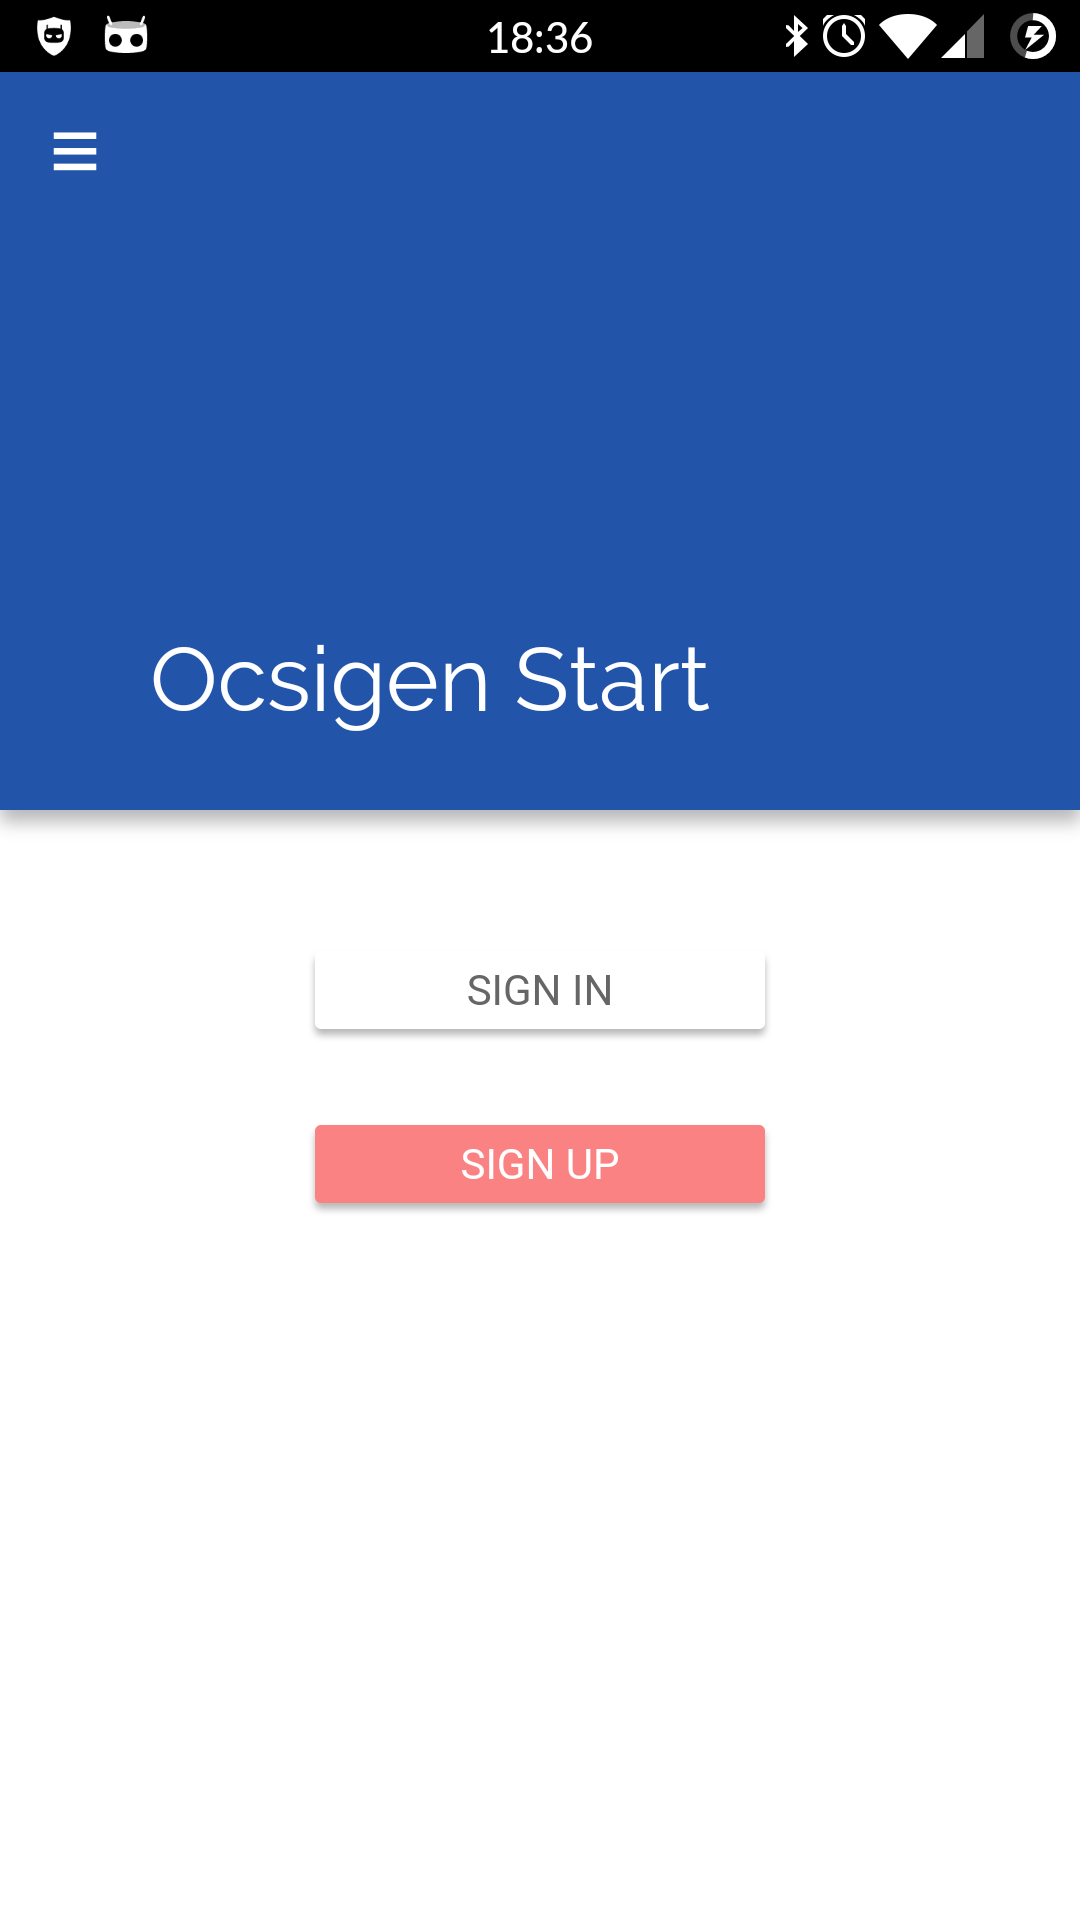
Ocsigen Start is the easiest way
to learn Eliom!
eliom-distillery --template os.pgocaml -name myapp
Then read the README file

Code run in a webview Cordova or Capacitor
Pages generated on client-side
Exact same code as the Web app
Use Ocsigen Start to test
Please read the main documentation page first!
and look at each example in Ocsigen Start's template.

Slides powered by Slipshow.